まだ,全ての機能が実装されているわけではないけれど,取りあえずPlay Storeにあげた。
一晩だけどそれなりのものには仕上がったのでは。

キチェ語を用いた後出しじゃんけんゲームアプリ開発を始めた。これって脳トレとしても採用されたらしい。
確かに反射神経といった意味合いではそうかも。
少し複雑な要素も入れてみるかな。取り敢えず最初のバージョン出来るだけ早く出したい。
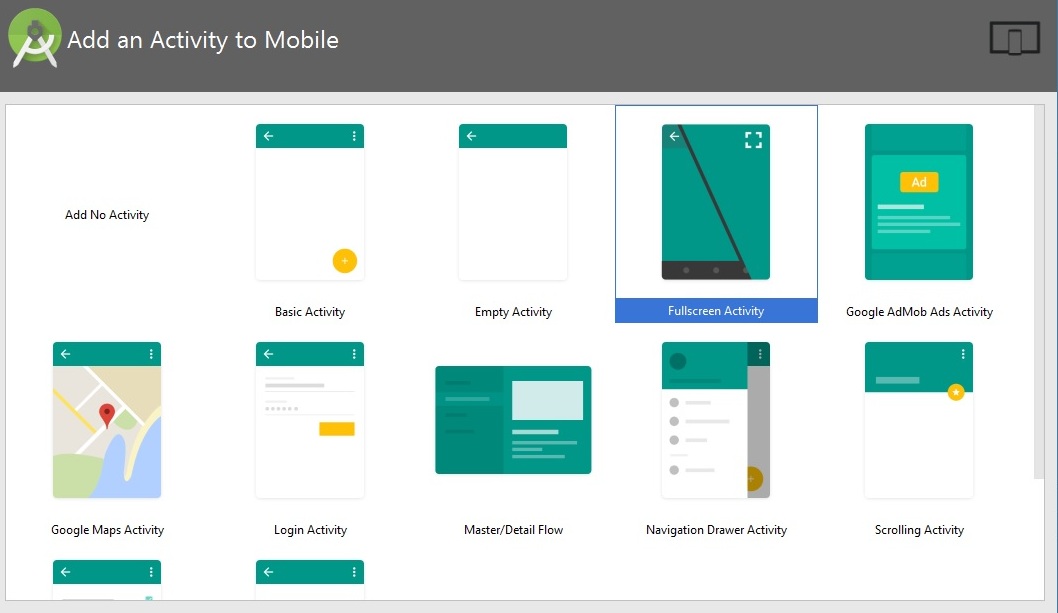
プロジェクト作製段階のこの画面でFullscreen Activityを選択と言いたいところだけど、

このアクティビティが非常に使いづらいので下記の方法で行ってみる。
まずは
valuesフォルダ下のstyles.xmlに新たなスタイルを追加:
|
1 2 3 4 5 6 |
<style name="FullScreen" parent="@style/Theme.AppCompat.Light"> <item name="windowNoTitle">true</item> <item name="windowActionBar">false</item> <item name="android:windowFullscreen">true</item> <item name="android:windowContentOverlay">@null</item> </style> |
その後AndrroidManifest.xmlを新規作成したスタイルを使用するために修正する。
つまり
これを
|
1 |
android:theme="@style/AppTheme"> |
下記の様に修正。
|
1 |
android:theme="@style/FullScreen"> |
これで完了。
.xmlで以下の1行を加える。
|
1 |
android:maxLines="1" |
以上。
まずはカスタム・フォントを利用することに特化したクラスを作成。
FontChange.java
|
1 2 3 4 5 6 7 8 9 10 11 12 13 14 15 16 17 18 19 20 21 22 23 24 25 26 27 28 29 30 31 32 33 |
import android.content.res.AssetManager; import android.graphics.Typeface; import android.view.View; import android.view.ViewGroup; import android.widget.TextView; public class FontChange { private Typeface typeface; public FontChange(AssetManager assets, String assetsFontFileName) { typeface = Typeface.createFromAsset(assets, assetsFontFileName); } public void replaceFonts(ViewGroup viewTree) { View child; for(int i = 0; i < viewTree.getChildCount(); ++i) { child = viewTree.getChildAt(i); if(child instanceof ViewGroup) { // recursive call replaceFonts((ViewGroup)child); } else if(child instanceof TextView) { // base case ((TextView) child).setTypeface(typeface); } } } } |
カスタム・フォントへはAssetsフォルダからアクセス:

フォントを変更したいアクティビティ内(onCreate)で以下を追加:
|
1 2 |
FontChange font = new FontChange(getAssets(), "JiyunoTsubasa.ttf"); font.replaceFonts((ViewGroup)this.findViewById(android.R.id.content)); |
これでアクティビティ全体にカスタム・フォントが適用される。